Connecting Omnisend to Dataships lets you automatically sync consented email and SMS subscribers straight into your Omnisend account — no manual exports, no copy-pasting lists. Once connected, every shopper who opts in through your Dataships widget lands in Omnisend ready to receive your campaigns. The connection uses OAuth, so there are no API keys to find or paste: one click and you're in.

Finding the Omnisend integration
In Dataships, go to Integrations → Marketing Platforms. Find the Omnisend card and click Install to open the Omnisend Configuration screen.
Step 1: Connect via OAuth
On the Omnisend Configuration screen, you will see an Auth Configuration section with an Install Omnisend button.
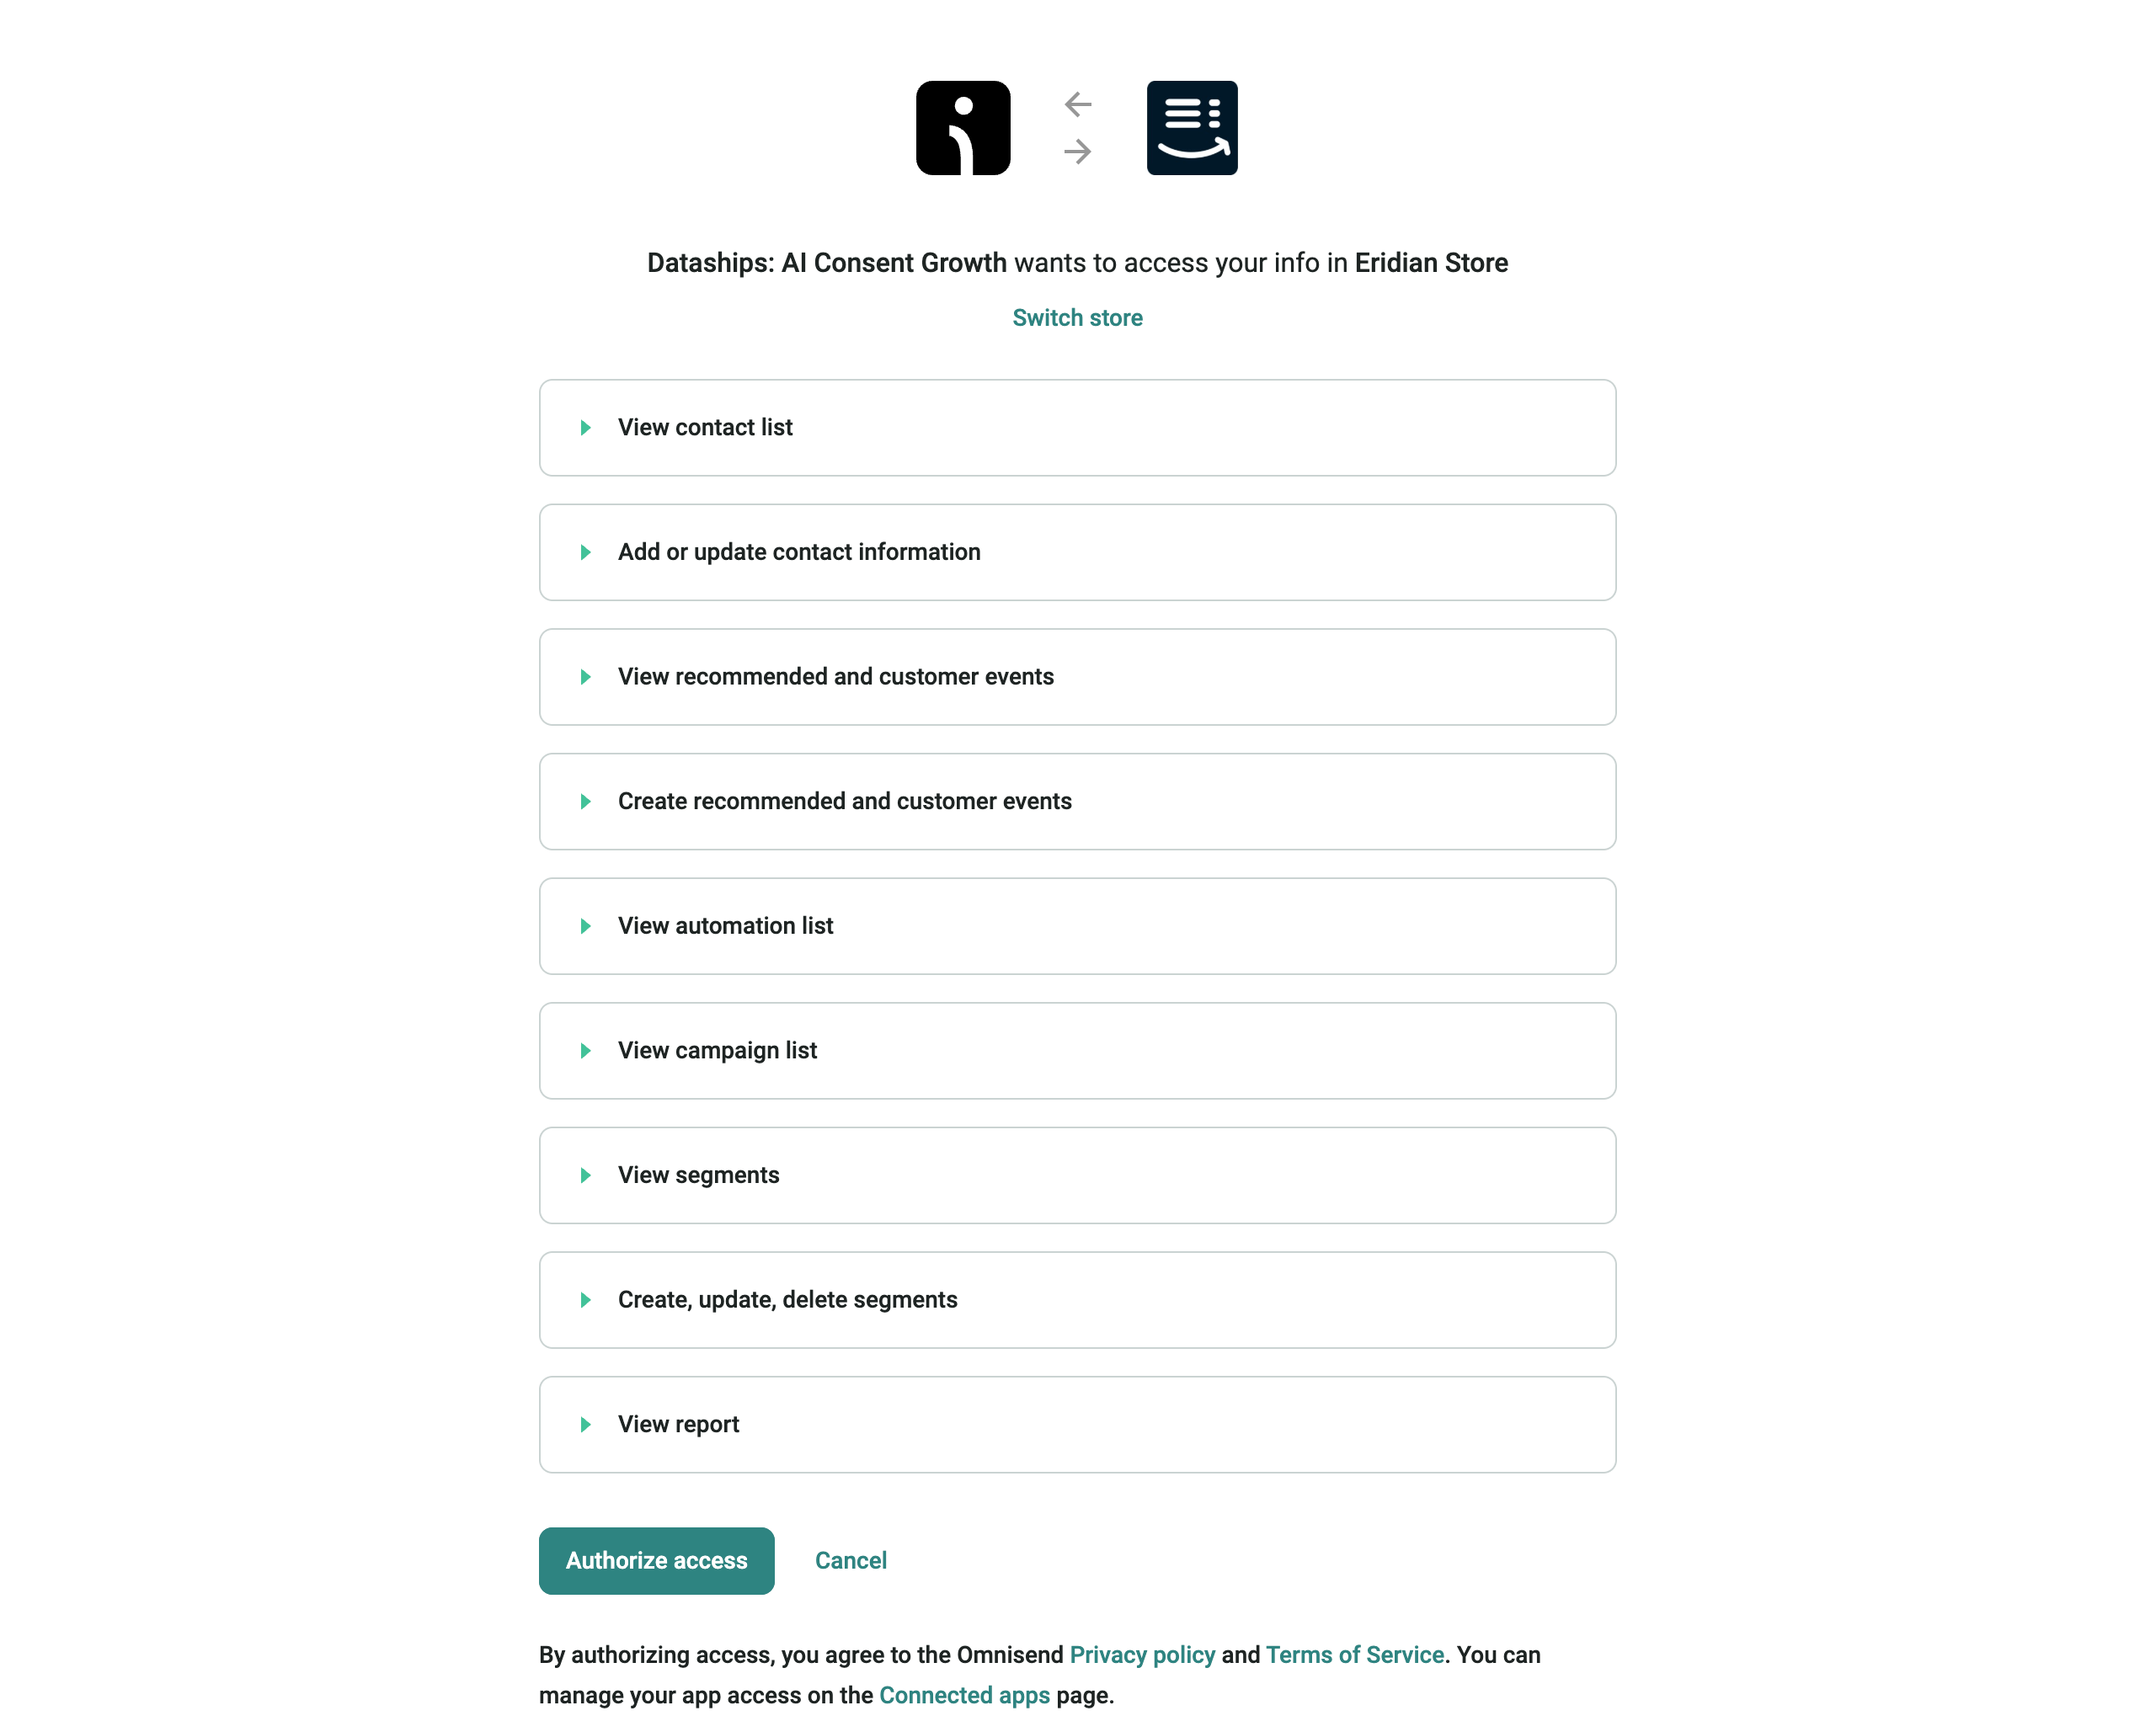
- Click Install Omnisend. You will be redirected to Omnisend's authorisation page in a new window.
- Click Allow to grant Dataships access to your Omnisend account.
- You will be returned to Dataships automatically. The connection is now active.
If you see an error after authorising
- If you clicked Deny on Omnisend's page, you will see: "Authorization was declined. Please authorize access by clicking 'Allow' to enable integration." Go back to the authentication screen and click Install Omnisend again, then click Allow.
- For any other failure, you will see: "OAuth failed, please try again." Click Install Omnisend to retry.
Step 2: Activate your email channel
After connecting, you will land on the Configuration screen. Dataships handles the setup automatically — there are no lists to configure manually. If your email channel still needs to be activated, you will see an Email Configuration section.
- If the button reads Onboard with Email: click it and confirm in the modal. This begins the onboarding process for your email channel.
- If the button reads Go-live with Email: click it and confirm in the modal. This activates your Omnisend email integration.
If neither button is visible, your email channel is already active — no action needed.
Step 3: Activate your SMS channel
If Omnisend SMS is available on your account, you will see an SMS Configuration section on the same Configuration screen. The activation steps follow the same pattern as email.
- If the button reads Onboard with SMS: click it and confirm in the modal to begin SMS onboarding.
- If the button reads Go-live with SMS: click it and confirm in the modal to activate SMS.
If the SMS section is not visible, it is either already active or not available on your current Omnisend plan.
During onboarding
If you are going through the Dataships onboarding flow for the first time, you will see a progress bar at the bottom of each screen.
- Authentication screen: shows "2/6. By clicking next you will be brought to the next step of onboarding" — click Next once you have connected your Omnisend account.
- Configuration screen: shows "3/6. By clicking next you will be brought to the next step of onboarding" — click Next after activating your channel(s).
Uninstalling Omnisend
To disconnect Omnisend, go to Integrations → Marketing Platforms and find the Omnisend card. Click the trash icon (tooltip: "Uninstall Omnisend Integration") and confirm by clicking Uninstall in the modal.
You can keep the integration installed by clicking Keep installed if you opened the modal by mistake.
Note: Uninstalling stops Dataships from syncing any new contacts to Omnisend. Your existing contacts in Omnisend are not affected — they stay in your Omnisend account. You can reconnect at any time by clicking Install on the Omnisend card.
FAQ
I declined the OAuth — how do I reconnect?
Go to Integrations → Marketing Platforms → Omnisend → Authentication. Click Install Omnisend again and click Allow on Omnisend's authorisation page. Declining the first time does not block you from reconnecting.
Do I need to configure lists or segments in Omnisend?
No. Unlike some other integrations, Omnisend does not require any list configuration within Dataships. Once you have connected via OAuth and activated your channel, Dataships handles contact syncing automatically.
What happens to my existing Omnisend contacts if I uninstall?
Uninstalling the Omnisend integration only stops future syncing. Any contacts already in your Omnisend account remain there — nothing is deleted. When you reinstall and reconnect, Dataships will resume syncing new consented subscribers.
My OAuth connection failed — what should I try?
First, make sure you are logged in to the correct Omnisend account before clicking Install Omnisend. If the error persists after retrying, try clearing your browser cache or using a different browser. If you are still blocked, contact the Dataships support team and include any error message you saw.